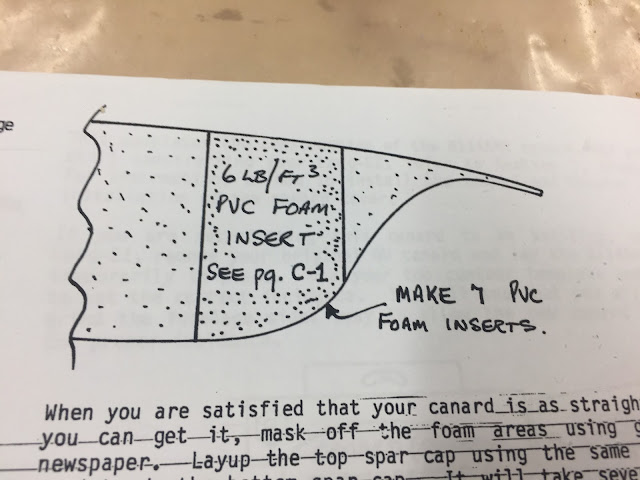
PVC foam inserts (3.6 hrs)
In the last post I figured out the elevator's hinges locations. You might remember the inner hinge position had to be modified due to my 2” (5 cm) wider fuselage, and the use of the Cozy Girls’ offset torque tubes. This time I will beef up the canard’s foam in these locations by inserting strong 6 lb. (per cubic foot) foam plugs.
I will mention here that there is a slight difference in the size of the inserts depending on whether you look at the original plans, or the Roncz instructions. However, it appears that either way will work, so I’ll just highlight it below in case this might cause confusion.
I chose to go the Roncz's way.
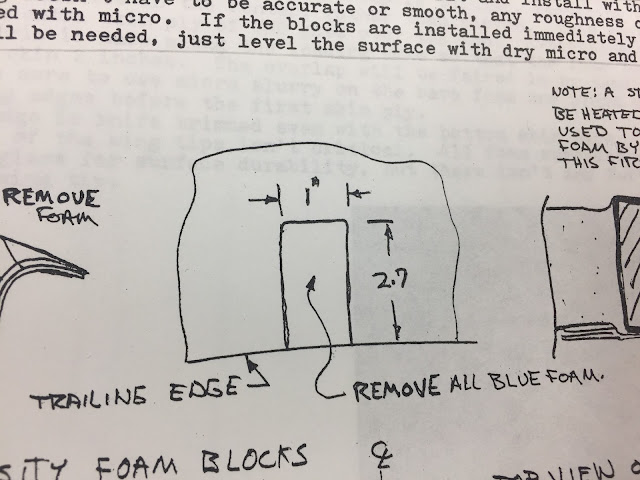 |
| Original plans' PVC foam inserts reach all the way to the trailing edge |
 |
| Roncz foam insert do not reach the trailing edge |
 |
| This is why the foam can be shorter and still cover the hinge |
I made a template out of a 1” x 2.7” piece of foam, and drew the outlines of the foam inserts on the canard as by the original plans.
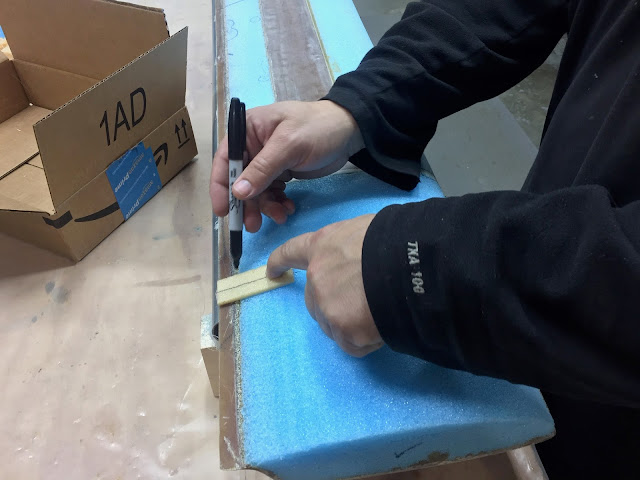 |
| 1" by 2.7" template (2.5 cm by 6.9 cm) |
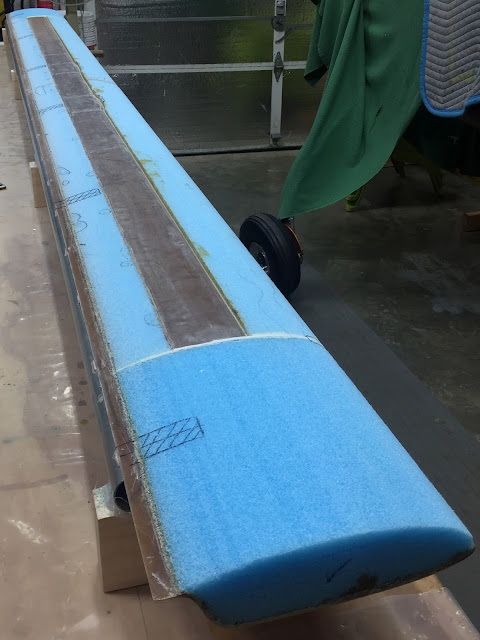 |
| All locations marked on the canard |
Then I decided how far back I wanted the foam removal to go, based on the Roncz plans, and marked those locations on the canard.
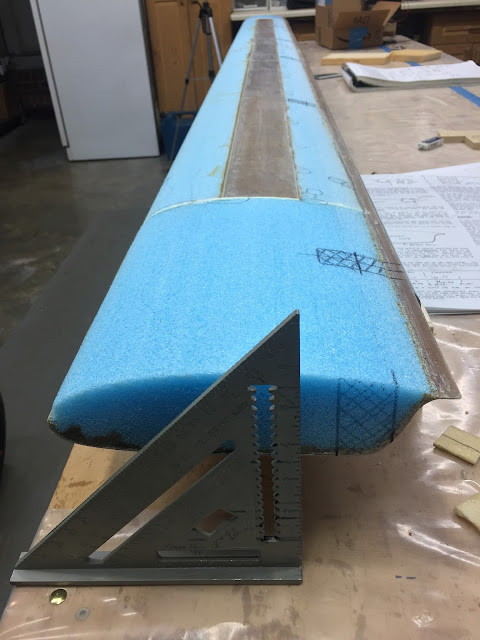 |
| Cross section drawing of the foam to be dug out |
I used a Dremel tool to cut the foam out, but apparently I didn’t take any photos of the process.
Next, I had to shape the PVC foam in a way that would fit in these holes. To do that I used the foam the canard tips came in to mark and shape a piece of tougher leftover foam.
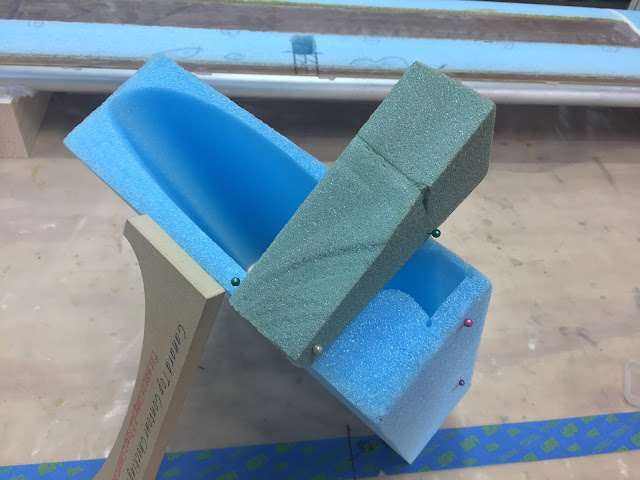 |
| Scrap foam pinned to the canard tip's "negative" |
 |
| Marking the foam scrap from inside the canard tip's "negative" |
 |
| Canard rear cross section shape captured on the foam scrap |
 |
| Foam scrap, trimmed to the drawn contour, being tested. |
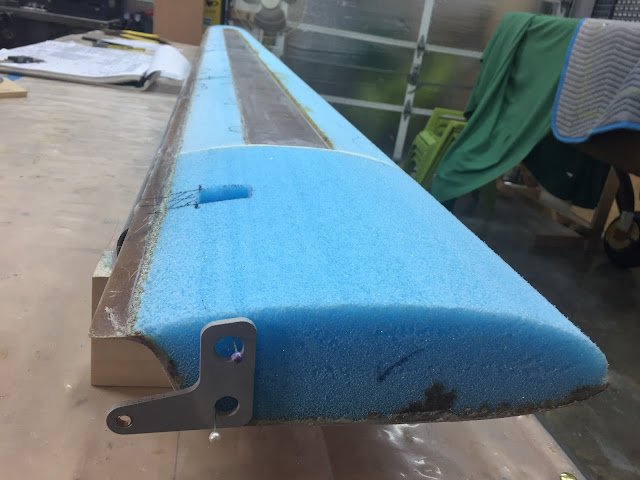
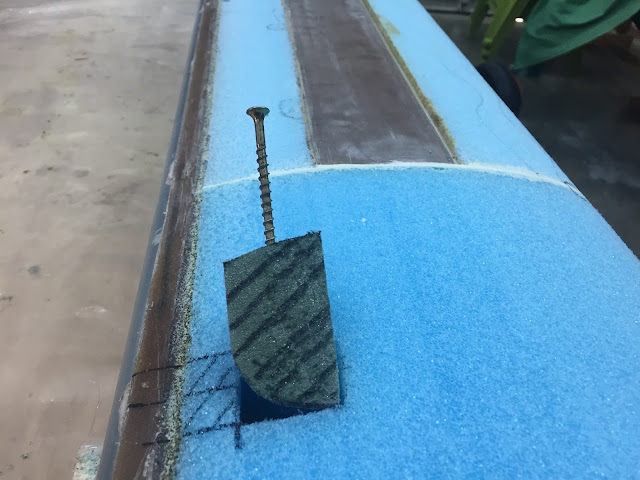
I then trimmed the back of the part, and used a drywall screw to make sure it fit in all of the holes.
 |
| Rear part of the scrap foam trimmed off. |
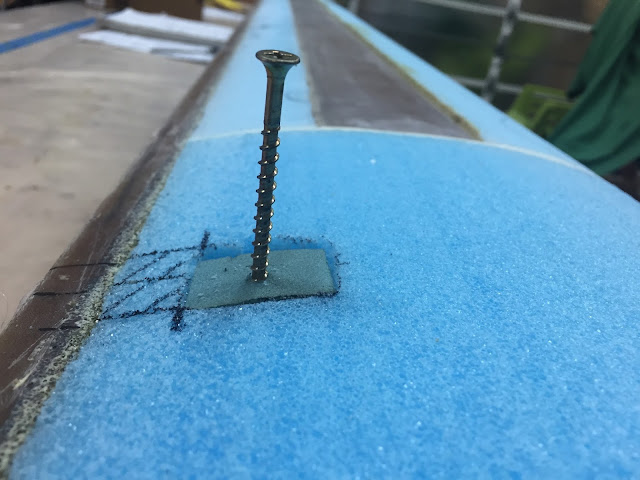 |
| Testing the holes with the new template |
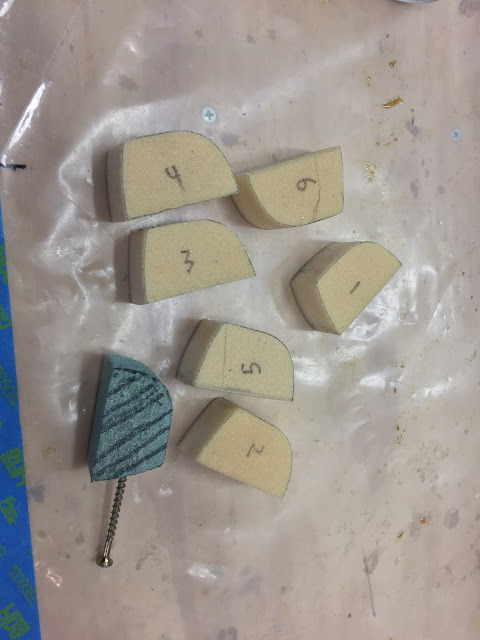
Satisfied with its shape, I used it as a template to mark the strong PVC foam. Incidentally this piece of foam was a leftover from my friend Wade’s canard construction.
 |
| Marking the six foam inserts |
Looks like our birds will be twins! 😊
Moving on…
This foam is really tough, so I cut it on the band saw, and shaped it with the belt sander.
 |
| The easy way to cut PVC foam... |
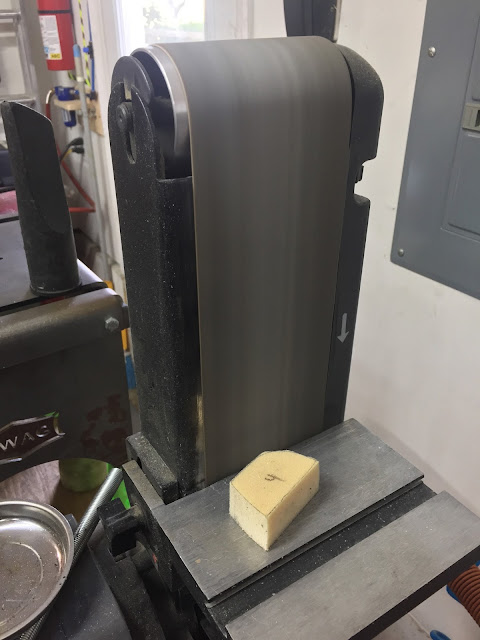 |
| ... and quickly shape it. |
 |
| All done in no time. |
 |
| Some minor custom shaping on the sander was necessary to ensure a good fit |
The last step was to micro all of the foam inserts into the canard.
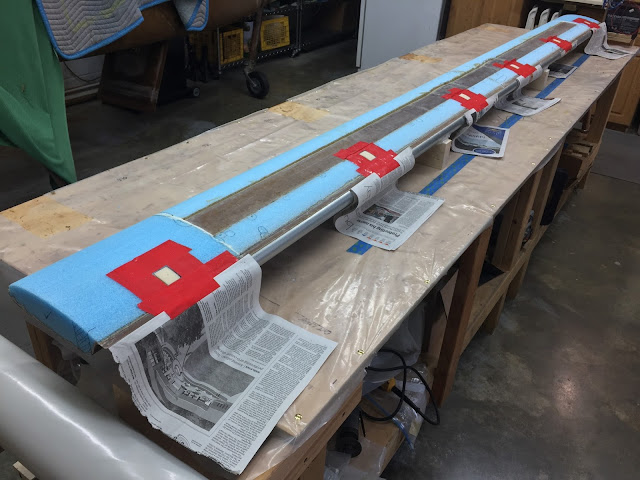 |
| Masking the canard |
 |
| Micro was used to glue the foam inserts to the canard |
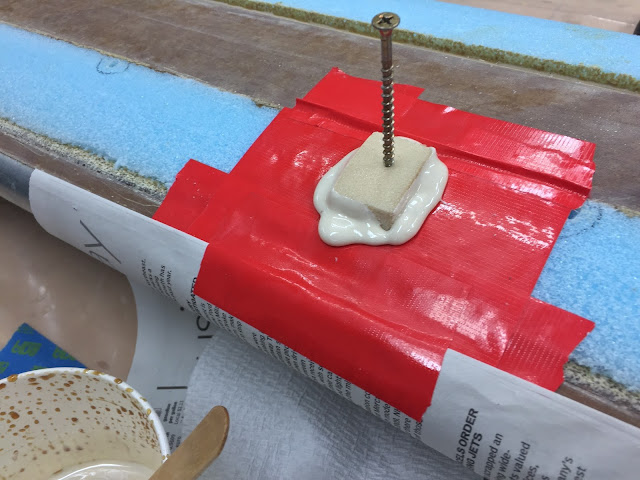 |
| Care was used to eject all air and extra micro from below the foam insert |
 |
| This nice flush fit should minimize sanding |
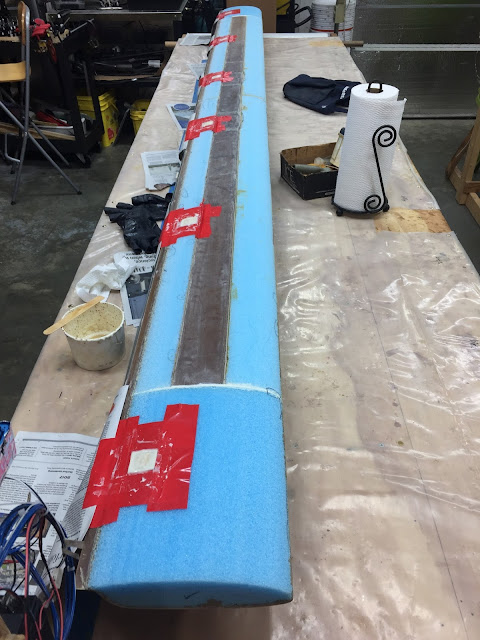 |
| All six inserts glued to the canard |


